blog
How To Protect Your Deck
22
Mar
Mar
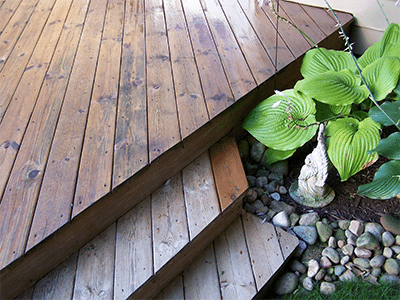
Now that you’ve learned the four steps to prepping your deck you’re ready to apply One TIME.
Applying One TIME is the most enjoyable part of the process as you’re enriching the beauty of your wood. You’ll witness the incredible difference the high-quality One TIME will make on your prepped wood.
Materials Needed to apply One TIME to your deck (or any of your exterior wood projects)
- One TIME
- Broom
Paint roller or paint pad
- Painter’s pole
- Paint tray
- 3” paintbrush
- Painter’s tape
optional: painter’s mitt ( see NOTE below)
The Process
- Use a broom to remove all debris from the deck.
- Determine where you’ll begin applying the One TIME and where you’ll end. You’ll want to begin somewhere that is the most convenient to allow yourself room to move around. Make sure you pick an end location that allows you to get off of the deck with ease without having to cross over newly applied One TIME.
- Apply painter’s tape along the siding that butts up to your deck The painter’s tape will protect your siding from receiving any unwanted stain.
- Pour the One TIME into the paint tray
- Fasten the roller or paint pad to the end of the painter’s pole.
- Dip the paint roller or pad into the paint tray and begin to apply the One TIME to the entirety of the deck. For all the areas that are hard to reach, such as the sides of the deck or the in-between the edges of the boards, use the paintbrush to apply the One TIME.
NOTE: To save time you can use a painters mitt for the spindles or balusters. You do not need to worry about overlaps or run marks this does not occur with One TIME.
Now you have successfully applied One TIME to your deck (or any other exterior wood project!